5 Steps to Grill Vegetables
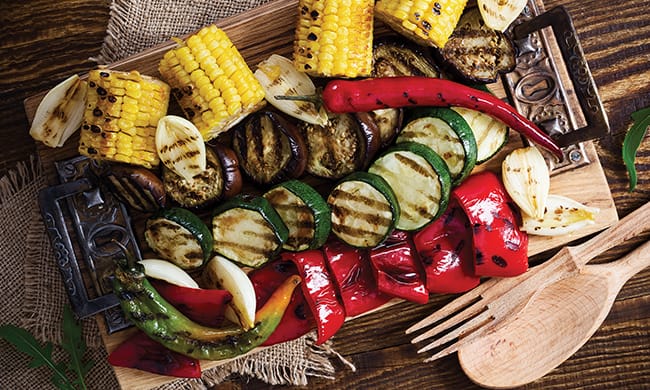
(Culinary.net) Burgers, brats, steak, chicken, pork chops and all the flavors of fresh meat get all the love on the grill, but a well-rounded meal calls for sides and veggies.
Before you plan your next backyard barbecue, incorporate tasty vegetables – peppers, asparagus, onions, tomatoes, zucchini and more – for an all-out blitz of fresh-grilled flavor. Consider these simple steps to properly grill your crispy veggies:
- Light the grill. Step one, of course, is to prep a hot grill. For the best cooking experience, you’ll want medium-high heat or even high heat for quick, direct grilling. By lighting the grill ahead of veggie prep, you’ll allow plenty of heating time to complete your other tasks.
- Prepare vegetables. Depending on what you plan to cook, there’ll likely be some preparation to undertake, such as cutting off stems and blemishes or removing pits and seeds. In addition to cleaning up your ingredients, you may want to chop, dice or slice based on the recipe.
- Coat vegetables with olive oil. Drizzling just a small amount of olive oil over your vegetables and tossing to coat adds a couple benefits. First, it helps the outer layer crisp rather than dry out, plus it aids in seasonings – like salt and pepper – sticking to the vegetable instead of falling off while on the grill or in a pan.
- Consider using foil packets or skewers. If char marks aren’t your thing, tossing chopped or diced veggies into a foil packet before hitting the grill steams them for a bit of a softer texture. Alternately, wooden skewers soaked in water (to prevent burning) can help keep smaller chunks of veggies from slipping through the grill grates while still achieving a crispy exterior.
- Pay attention to grill times. Different types of vegetables and preparation methods call for different cook times, but 5-10 minutes over direct heat generally gets the job done. The smaller you chunk, chop, slice or dice, the less time it’ll take.
Find more grilling tips at Culinary.net.
Photo courtesy of Getty Images
SOURCE:
Culinary.net